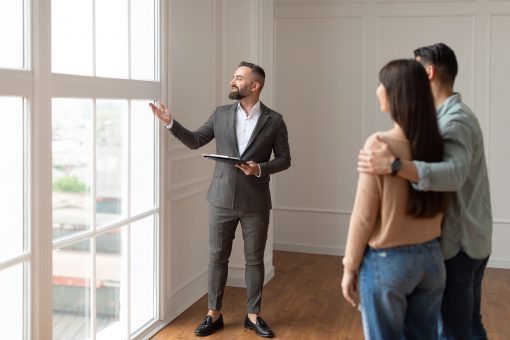
They say that first impressions last a lifetime, and this could very well be true when it comes to buyers laying eyes on the perfect family home for the first time. To increase the chances that a buyer will fall in love at first sight with your property, you’ll need to impress them with a good first impression. Before buyers come to inspect any property, they will first get these impressions from listing photographs. As a result, these photographs are of the utmost importance, because they could be the deciding factor between a buyer deciding to come visit your home or not.
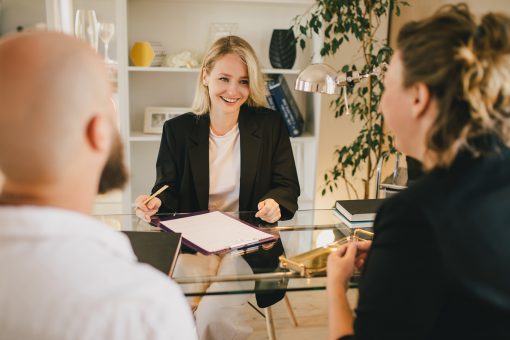
To help make this good first impression, you’ll want to work with an experienced real estate agent to highlight the finer details of your home. You can choose a real estate agent by comparing proposals using the free service at LocalAgentFinder. By choosing to register, you can start receiving and comparing these proposals from various agents in your area to find the right fit. The agent of your choice can help you groom your home for photographs, and can give you sound advice to make a good first impression.
Additionally, some real estate agencies will offer a professional photographer as part of their marketing package, and some agents will take the photos themselves. Be sure to ask about whether or not photography services are offered when you’re first comparing agents. If you choose an agency that offers photography, ask to see some examples of their work. Should the quality of these photographs be unsatisfactory, you’ll need to take action yourself.
Professional Photographer or DIY?
You may choose to hire a professional photographer to help you take the most effective photographs, but it’s also possible to do it yourself. There are many benefits associated with hiring a property photographer. They will have extensive experience in the industry, and will know how to make the most of your property for the photo shoot. A professional photographer will have state-of-the-art equipment to create the highest quality images, and can manipulate them during post-production to make them look clean, bright, and stylish. Yet it’s also possible to save money by taking your own photos. Should you choose to take this route, there are a few simple tips that can help you enhance your images. This can make a world of difference, transforming your amateur snapshots into efficient marketing tools.
Getting Started with Real Estate Photography
An effective, professional photo shoot will start with the right equipment. If you are taking photos yourself, it’s a good idea to use a high-quality camera like an SLR. This should preferably have a wide-angled lens, because these are commonly used to make rooms look larger. A tripod will also be beneficial, to avoid blurriness caused by shaky hands. If you have photo manipulation software, this could also come in handy. However, you may not need it if you set your shots up right.
With your equipment ready, you’ll be able to start your photo shoot. You’ll need to shoot in high resolution, because this will make the photos look far more professional when you put them online. They will also be better suited for printing in brochures and other marketing materials than low resolution photos.
Make a plan of the features that you wish to focus on. This is a good time to consult with your real estate agent, who may have more advanced knowledge of which features in your home should be accentuated. You can find a real estate using the online dashboard at LocalAgentFinder who knows what other homes in your area are like. These photographs are your first chance to set your property apart from this competition.
Some features to focus on could include ensuites, fireplaces, walk-in closets or wardrobes, cellars, terraces and balconies, and spiral staircases. For apartment buildings, be sure to include photographs of special amenities like the pool or gym. You’ll want to get clear photographs of bot the interior and exterior of your home. Yet before you begin, you’ll also need to set up each scene to enhance your property and make sure it looks its best. This includes creating the right mood through lighting. Interior shots will benefit from turning on all the lights and drawing back curtains for a bright, sunny lighting effect.
Before you take any photographs, remove personal items from the shot and clean and tidy up each area thoroughly. Be sure to get rid of any unsightly rubbish or clutter, including toiletries and family photos. Evidence of pets, vases of dead flowers, or obvious stains should all be covered or removed. Small, seemingly insignificant details such as a folded-over rug can make or break your end product. Yet at the same time there’s no need to overdo it and make your rooms look cold or vacant. After you have cleared away clutter and cleaned the room, you can add props to make it more lived-in and inviting. Setting the table with attractive dinnerware and wine glasses could invite viewers to imagine themselves throwing dinner parties, for example. Or you could place a bottle of champagne in an ice bucket by a chaise longue in your pool area to add a touch of luxury.
Photography Tips for Individual Rooms
The following are a few tips for photographing each individual room:
- Living Room: Because this is the part of the home where a family spends the majority of their time, be sure to create a comfortable, relaxing atmosphere. You can move furniture around or remove it altogether, to create the desired effect.
- Bedroom: This is also a very important part of the home. It’s where the owner will begin and end each day, and should be a private and restful sanctuary. As you prepare your bedroom for the photo shoot remove clothes from the floor. Buyers want to see a clean slate, not your private items. Make sure you’ve made the bed neatly and have highlighted any extra perks, such as a stunning view out the window.
- Kitchen and Dining Area: This is usually an area that can benefit from a little bit of extra cleaning before a photo shoot. Remove any detergents or other household cleaning products, and tidy away dirty dishes. Focus on the best features to detract from a small space, if applicable.
- Bathroom: Even a large bathroom can seem quite small in a photograph if shot from the wrong angle. Stand in the corner of the room to get the right angle, and make the room look larger. Take care not to accidentally include a photograph of yourself in the mirror!
The Photo Shoot
After you’ve prepared the house thoroughly, you’ll be ready for the big day. One thing to keep in mind when you’re actually shooting is to keep the lines of the walls straight. This can be a problem with wide-angle lenses, which can make walls look like they are bulging outwards. Make sure that you have plenty of options to choose from by taking a variety of shots from different angles and positions. Don’t be afraid to play around with the zoom function of your camera to create close-ups, which can sometimes provide a more attractive view of fine details.
As you shoot the exterior of the home, you’ll need to ensure that you have even lighting. A good time of day to shoot the house is around noon, when the sun will be shining directly on the home from above. If you don’t shoot at this time, make sure that the sun is behind you as you shoot so that you can avoid glare. You’ll also need to be mindful of your shadow creeping into the shot. Shooting your home at sunset or during twilight can create a beautiful and evocative atmosphere, casting a warm and inviting glow. You can even consider shooting your photo at dusk with all of your lights on. This will create a stunning contrast between the brightly-lit house and the approach of evening.
The principles of exterior photography are the same as interior photography. You’ll need to remove any clutter from the yard before you shoot, clearing away toys, hose pipes, and lawnmowers. Focus on details of interest such as garden statues or swimming pools, and angle your shot to avoid unsightly details like telephone poles or electrical towers. If you’re feeling adventurous, you could even try a different angle by climbing a ladder or your car to shoot from a higher vantage point.
Presenting your Property
The beauty of digital cameras is that you don’t have to worry about the cost of film. You can now take as many photos as you like. It’s best to have as many photos as possible to pick and choose from, to ensure you get the most flattering and unique shots. Photo editing software can help you adjust the colour balance and get rid of any accidental blemishes. However, take care not to edit photos so much that they misrepresent your property. Include as many photos as possible in your real estate listing. Buyers may suspect that you are trying to hide flaws if you only have one or two photos.
What’s next?
With great, professional photographs of your home, you could end up having a quicker sale. You’ll also want to have a real estate agent on your side who knows how to make the most of the interest that these photographs attracts .Start the process of selling your home by comparing agent qualifications at LocalAgentFinder. Find out how it works and start receiving agent proposals today, to get your sale off the ground.
You may also find the following article to be of use: